Are you ready to dive into chocolate bliss? My Triple Chocolate Fudge Cake is the ultimate treat for any chocoholic. It’s rich, creamy, and so easy to make! Whether you’re baking for a party or just satisfying a sweet craving, this cake will impress. Join me as I share tips, ingredients, and simple steps to create this decadent delight that will melt in your mouth. Let’s get started!
Why I Love This Recipe
- Decadent Flavor: This cake combines three types of chocolate, creating a rich and indulgent flavor profile that chocolate lovers will adore.
- Moist and Rich Texture: Thanks to the buttermilk and a blend of chocolate chips, this cake is incredibly moist and has a delightful fudgy texture.
- Perfect for Any Occasion: Whether it’s a birthday, holiday, or just a treat for yourself, this cake is versatile and sure to impress your guests.
- Easy to Make: The straightforward instructions make it easy for both beginners and experienced bakers to whip up this delicious dessert.
Ingredients
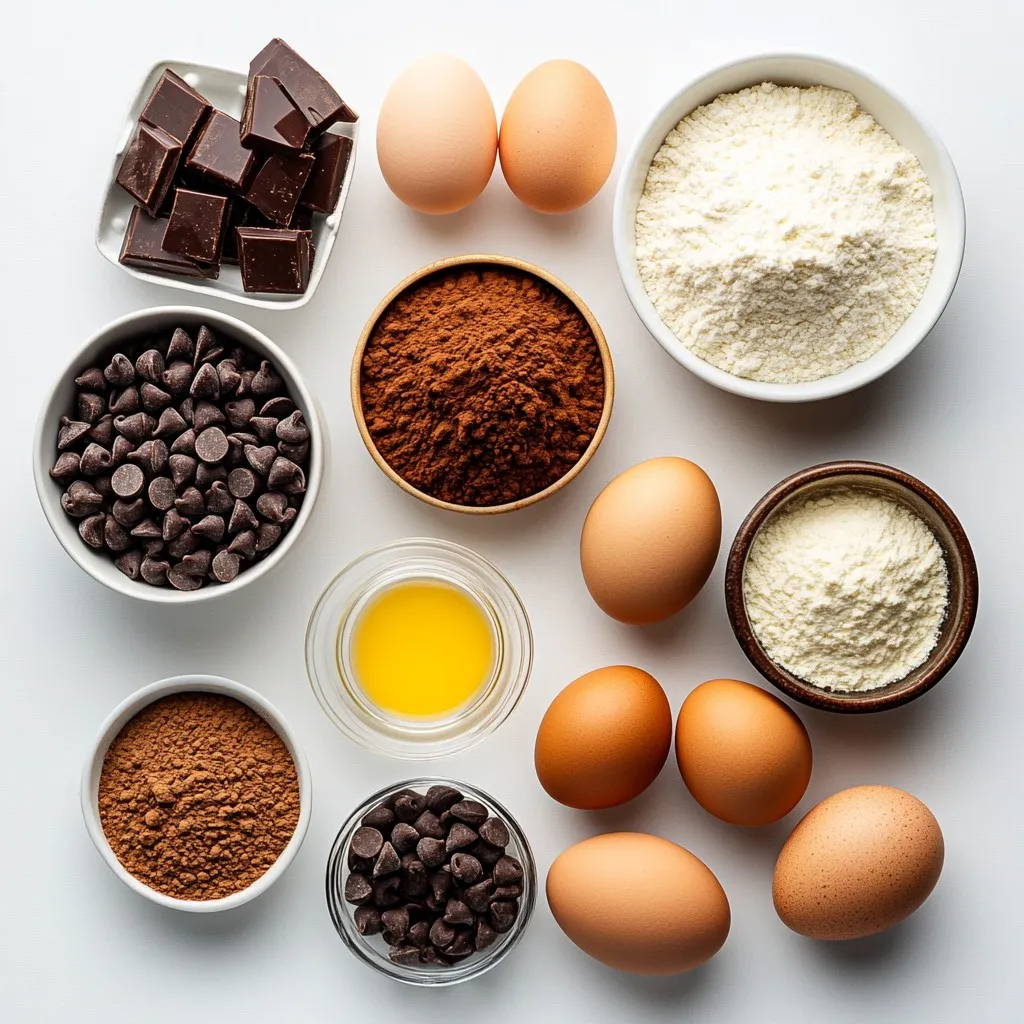
List of Ingredients
To make this delightful Triple Chocolate Fudge Cake, gather the following ingredients:
– 1 cup unsalted butter, softened to room temperature
– 1 ½ cups granulated sugar
– 1 cup packed light brown sugar
– 4 large eggs, at room temperature
– 2 teaspoons pure vanilla extract
– 1 ½ cups all-purpose flour, sifted
– 1 cup unsweetened cocoa powder, sifted
– 1 teaspoon baking powder
– ½ teaspoon baking soda
– ½ teaspoon fine sea salt
– 1 cup semi-sweet chocolate chips
– ½ cup dark chocolate chips
– ½ cup milk chocolate chips
– 1 cup buttermilk, at room temperature
Ingredient Substitutions
You can swap some ingredients if needed. Here are some ideas:
– Use coconut oil instead of butter for a dairy-free option.
– Substitute brown sugar with coconut sugar for a different flavor.
– If you lack buttermilk, mix regular milk with a tablespoon of vinegar or lemon juice.
– Use gluten-free flour mix to make this cake gluten-free.
Measuring Tips
Accurate measuring gives you the best results. Here are some tips:
– Use dry measuring cups for flour and cocoa powder. Level off with a knife.
– Pack brown sugar firmly into the cup for correct measurement.
– For sticky ingredients like butter, check the wrapper for measurements.
– Use a liquid measuring cup for buttermilk and eggs, ensuring a straight view for accuracy.
These tips will help you measure your ingredients correctly and set you up for baking success!
Step-by-Step Instructions
Prepping the Oven and Pans
Start by preheating your oven to 350°F (175°C). This step warms the oven for even baking. You don’t want to skip this! Next, grab two 9-inch round cake pans. Grease them with butter and dust them lightly with flour. This helps the cake slide out easily later. Set your pans aside and let’s move on.
Mixing and Incorporating Ingredients
In a large bowl, add 1 cup of softened unsalted butter. Then, add 1 ½ cups of granulated sugar and 1 cup of packed light brown sugar. Use an electric mixer on medium speed. Beat this mixture until it looks light and fluffy. This takes about 3 to 5 minutes.
Now, add 4 large eggs one at a time. Mix well after each egg. Once they are all in, add 2 teaspoons of pure vanilla extract. Mix again until everything blends nicely.
In a separate bowl, sift together 1 ½ cups of all-purpose flour, 1 cup of unsweetened cocoa powder, 1 teaspoon of baking powder, ½ teaspoon of baking soda, and ½ teaspoon of fine sea salt. Sifting helps make the cake light.
Next, combine the wet and dry ingredients. Add the dry mix into the wet mix slowly. Alternate this with 1 cup of buttermilk. Start and end with the dry mix. Mix on low speed until just combined. It is okay if there are a few lumps.
Then, it’s time for the fun part! Gently fold in 1 cup of semi-sweet chocolate chips, ½ cup of dark chocolate chips, and ½ cup of milk chocolate chips using a spatula. Make sure they are evenly distributed in the batter.
Baking and Cooling Process
Now, divide the chocolate batter equally between the two prepared cake pans. Smooth the tops for an even bake. Place the pans in the oven. Bake for 30 to 35 minutes. To check if they are done, insert a toothpick in the center. If it comes out with a few moist crumbs, you are good to go!
After baking, remove the cakes from the oven. Let them cool in the pans for about 10 minutes. Carefully run a knife around the edges to help release them. Then, transfer the cakes to a wire rack to cool completely. This cooling step is key for a great texture. Enjoy the smell while you wait!
Tips & Tricks
How to Get the Perfect Fudge Texture
To achieve a rich fudge texture, start with softened butter. This helps the butter blend well with sugars. Cream the butter and sugars until light and fluffy. This process adds air, making the cake rise nicely.
When mixing in the eggs, do so one at a time. This ensures each egg gets fully incorporated. Use room temperature eggs for the best results. For the dry ingredients, sift them well. This aeration is key to a light and moist cake.
Be gentle when mixing the dry and wet ingredients. Overmixing will lead to a tough cake. Mix until just combined. Lumps are okay. Fold in the chocolate chips carefully. This keeps the batter airy and gives you pockets of chocolate goodness.
Common Mistakes to Avoid
Avoid using cold butter. Cold butter does not cream well and can lead to a dense cake. Make sure your eggs are at room temperature. This helps them mix smoothly into the batter.
Sifting the dry ingredients is essential. If you skip this step, the cake may not rise well. Another mistake is overbaking. Check for doneness with a toothpick. You want a few moist crumbs, not wet batter.
Do not rush the cooling process. Let the cakes cool in the pans first. This prevents them from breaking apart when you transfer them to the rack.
Presentation Tips for Serving
For a beautiful presentation, use a decorative cake stand. It adds height and elegance. Level the cake layers with a knife if they’ve domed. This keeps your cake stable and looks great.
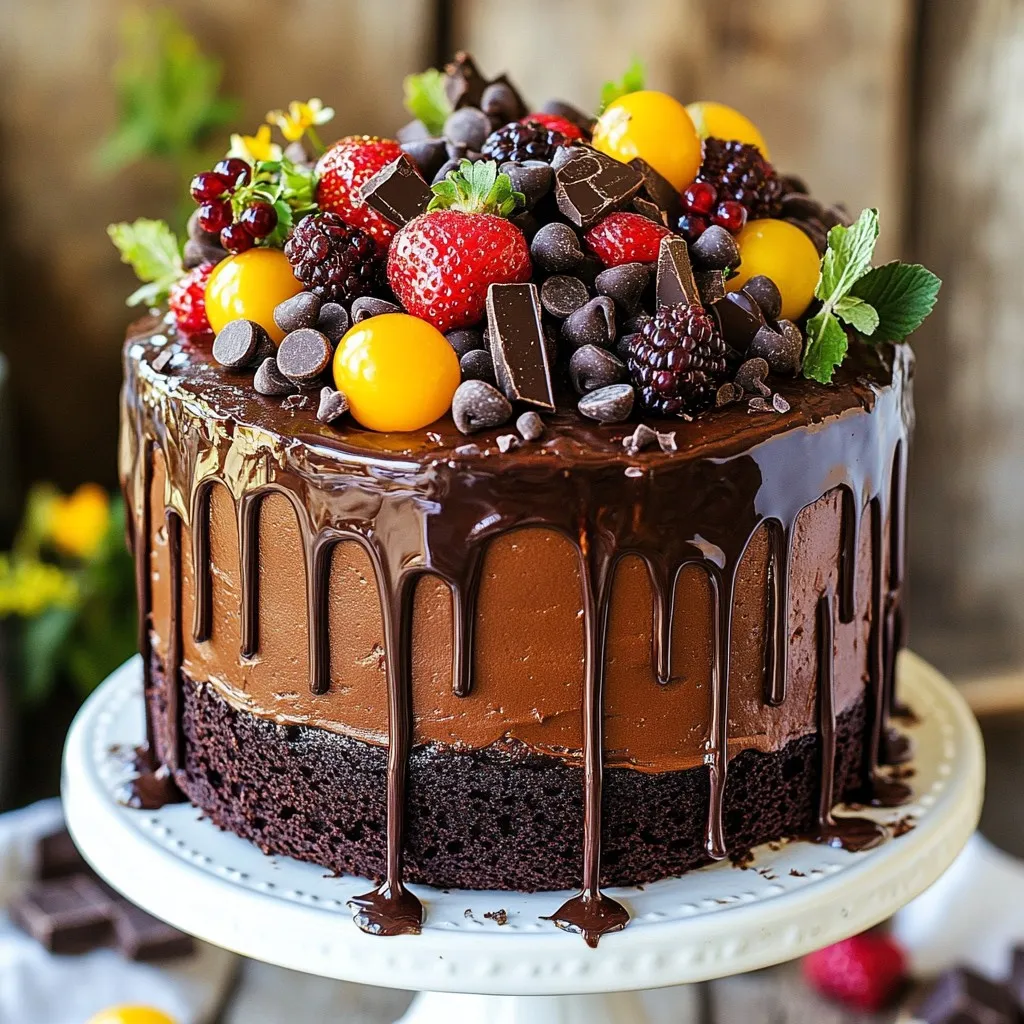
When frosting, use a rich chocolate ganache for a decadent finish. Garnish with chocolate shavings or fresh berries for color. A drizzle of warm melted chocolate on top makes it extra special.
Consider dusting with powdered sugar for a simple yet classy look. This adds a touch of sweetness without overwhelming the chocolate flavor. Presentation is key to making your cake stand out!
Pro Tips
- Use Room Temperature Ingredients: Bringing your eggs and buttermilk to room temperature ensures a smoother batter, leading to a lighter, fluffier cake.
- Don’t Overmix the Batter: Mixing too much can develop gluten in the flour, resulting in a dense cake. Mix until just combined for the best texture.
- Check for Doneness: Ovens can vary, so start checking your cake a few minutes before the recommended time. It’s done when a toothpick comes out with a few moist crumbs.
- Cool Cakes Properly: Allow your cakes to cool in the pans for a few minutes before transferring to a wire rack. This helps prevent them from breaking apart.
Variations
Gluten-Free Triple Chocolate Fudge Cake
You can easily make this cake gluten-free. Just swap the all-purpose flour for a gluten-free blend. Look for a mix that contains xanthan gum. This ingredient helps to mimic the texture of regular flour. The taste will still be rich and chocolatey, just like the original!
Adding Nuts or Other Chocolates
For a fun twist, add some nuts or different chocolates. Chopped walnuts or pecans add a nice crunch. You can also mix in white chocolate chips for a sweeter taste. Feel free to experiment with your favorite chocolate types. This way, you can create a flavor that you really love.
Frosting Ideas and Toppings
The frosting is where you can get creative! A classic chocolate buttercream works great. If you want something richer, try a chocolate ganache. To make it, heat cream and pour it over chocolate. Let it cool, and then spread it on the cake.
For toppings, consider chocolate shavings, fresh berries, or a drizzle of caramel. Each adds a lovely finish to your cake. A sprinkle of sea salt can also enhance the chocolate flavor. Get ready to impress your friends!
Storage Info
How to Store Leftover Cake
To keep your cake fresh, wrap it in plastic wrap. This protects it from air and moisture. You can store it at room temperature for up to three days. If you prefer, place it in the fridge for a longer shelf life. Just remember that cold can change the texture a bit.
Freezing Instructions
To freeze your cake, slice it first. Wrap each slice in plastic wrap, then seal them in a freezer bag. This keeps the cake safe from freezer burn. You can freeze it for up to three months. When you’re ready to eat, just take out a slice.
Best Practices for Reheating
Reheat your cake gently to restore its moist texture. You can use the microwave for about 10-15 seconds. For a whole cake, place it in a warm oven at 350°F (175°C) for 10-15 minutes. Keep an eye on it to avoid drying out. Enjoy your slice warm, with a scoop of ice cream or a drizzle of sauce!
FAQs
Can I make this cake ahead of time?
Yes, you can make this cake ahead of time. Bake the cakes and let them cool completely. Wrap each cake layer in plastic wrap. Then, store them in the fridge for up to three days. You can also freeze the layers for up to three months. Just remember to let them thaw in the fridge before frosting.
What is the best way to store chocolate cake?
The best way to store chocolate cake is in an airtight container. Keep it at room temperature for up to two days. If you need to store it longer, place it in the fridge. Just make sure to wrap it well to keep it moist. For longer storage, freeze slices in a freezer-safe bag.
How can I make this recipe dairy-free?
To make this recipe dairy-free, swap the butter for a plant-based alternative. You can use coconut oil or vegan butter. For buttermilk, use a dairy-free milk like almond or soy milk mixed with a bit of vinegar. This will give you that tangy taste without dairy.
You learned about making a delicious fudge cake through key steps and tips. We covered ingredients, measuring, and baking to ensure success. You can avoid common mistakes and achieve the perfect fudge texture with simple tricks. Variations allow for personalized touches, like gluten-free options or unique frostings. Lastly, proper storage keeps your cake fresh for longer.
Remember these tips for a great baking experience. Enjoy your cake and share your results with others. Happy bakin