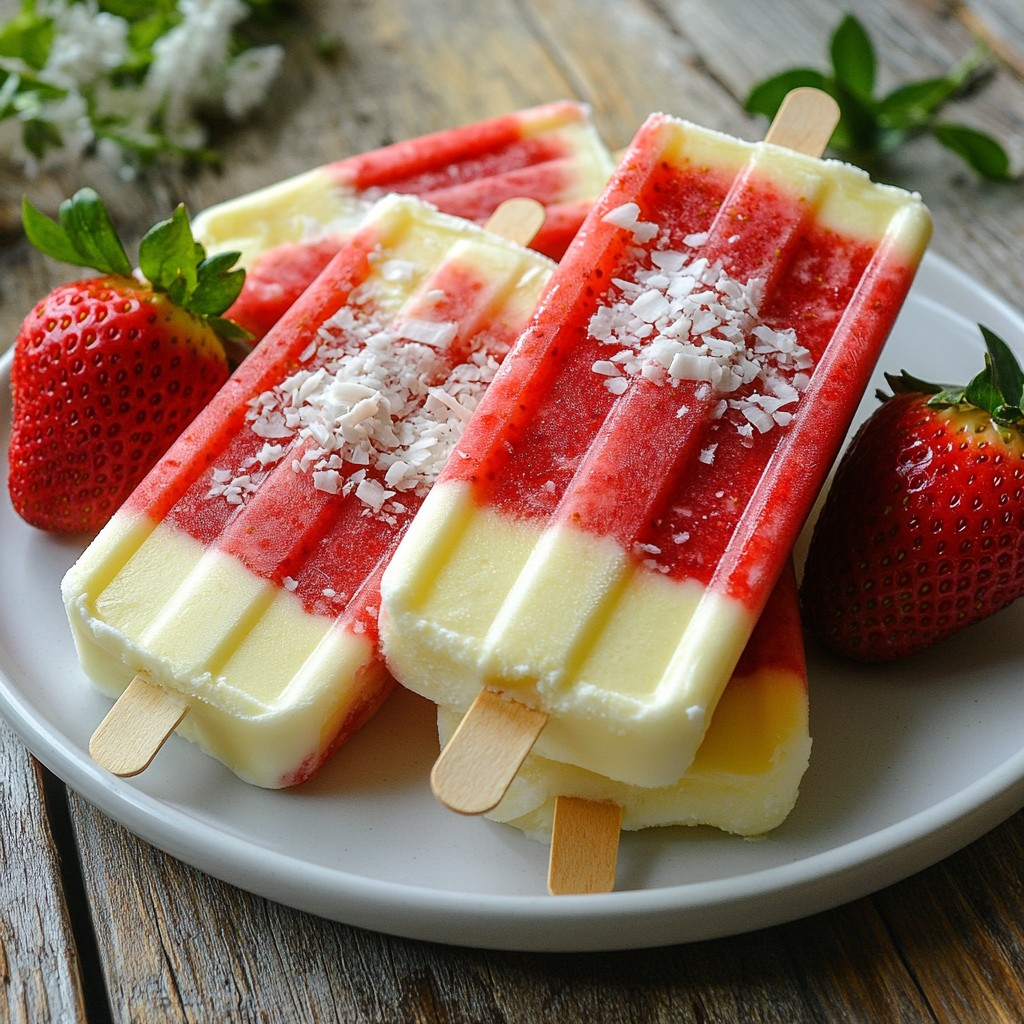
Craving a cool and tasty treat? These Strawberry Coconut Popsicles are just the answer! Made with fresh strawberries and creamy coconut, they're perfect for hot days. I'll guide you through simple steps to whip up this delightful dessert. Plus, I’ll share tips to make them even better. Ready to impress your family and friends? Let’s dive into this refreshing recipe and make summer more delicious!
Why I Love This Recipe
- Refreshing Flavor: This popsicle offers a delightful combination of strawberry and coconut, perfect for a hot day.
- Easy to Make: The recipe is simple and requires minimal ingredients, making it accessible for anyone.
- Customizable Sweetness: You can easily adjust the sweetness level to suit your taste preference, using honey or maple syrup.
- Healthy Treat: Using fresh strawberries and coconut milk, these popsicles provide a refreshing but guilt-free indulgence.
Ingredients
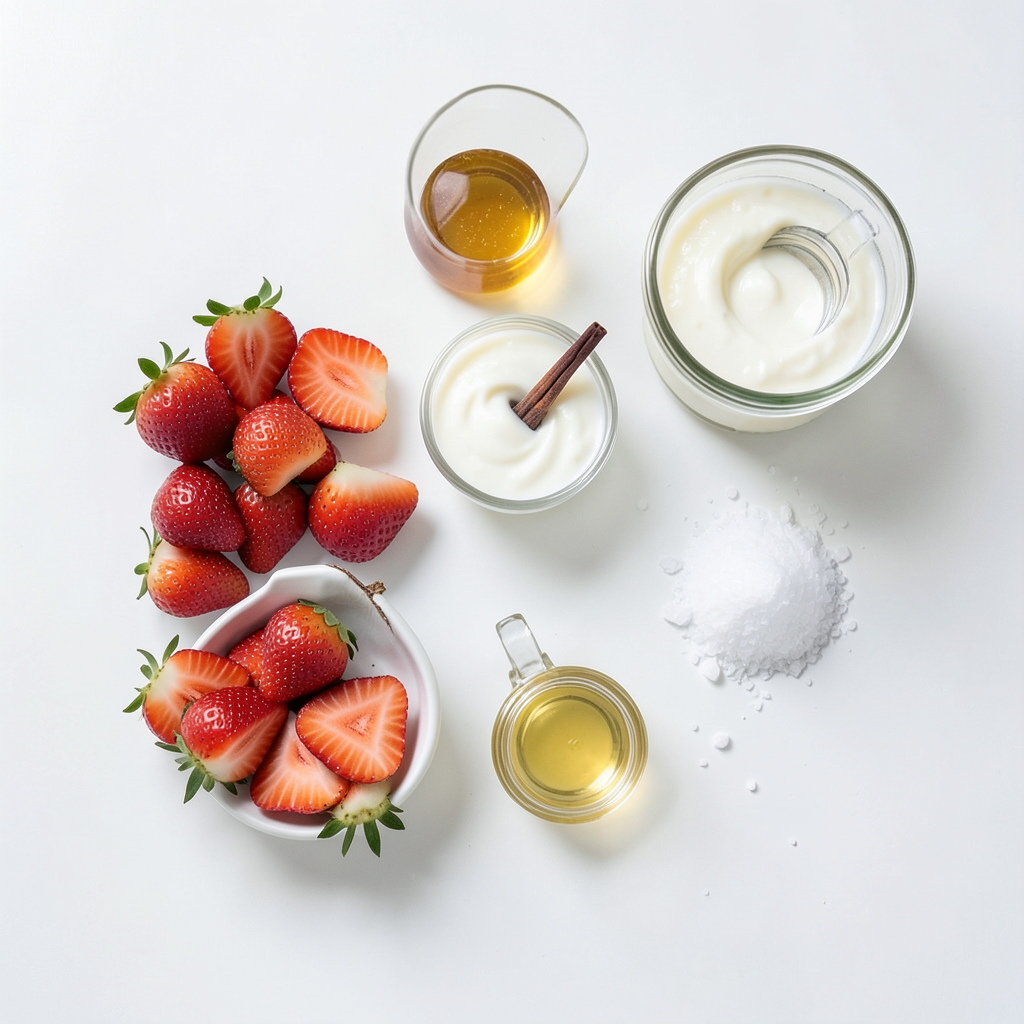
Fresh Ingredients for Strawberry Coconut Popsicles
To start, you need fresh ingredients for the best flavor. Here’s what you’ll need:
- 2 cups fresh strawberries, hulled and sliced
- 1 cup coconut milk (can be canned or from a carton)
Using fresh strawberries makes the popsicles bright and tasty. The coconut milk adds creaminess and a tropical vibe.
Sweeteners and Flavor Enhancers
Next, we’ll add sweeteners and flavor enhancers for balance. You will need:
- 2 tablespoons honey or maple syrup (adjust based on sweetness preference)
- 1 teaspoon vanilla extract
- A pinch of salt
Honey or maple syrup brings out the strawberry taste. The vanilla extract adds warmth, while the salt enhances all the flavors.
Optional Ingredients for Extra Creaminess
If you want a richer texture, consider these optional ingredients:
- 1/4 cup coconut cream
Coconut cream makes the popsicles extra creamy. It’s perfect for a smooth, rich texture that melts in your mouth.
Step-by-Step Instructions
Preparing the Strawberry Mixture
Start by blending the sliced strawberries in a blender. Add 1 tablespoon of honey or maple syrup. Blend until smooth, but keep some strawberry bits for texture. This gives the popsicles a nice look. It should take about 30 seconds.
Whisking the Coconut Base
In a mixing bowl, whisk together the coconut milk and coconut cream, if you’re using it. Add the remaining honey or maple syrup, the vanilla extract, and a pinch of salt. Mix until everything is well combined and smooth. This creamy base will balance the sweet strawberries.
Assembling the Popsicles
Take your popsicle molds and pour 1-2 tablespoons of the strawberry mixture into each one. Gently tap the molds on the counter to settle the mixture. Next, pour the coconut mixture into the molds, leaving space at the top. You can alternate layers for a pretty look. Insert popsicle sticks and freeze for at least 6 hours. To release them, run warm water over the molds. Enjoy your refreshing treat!
Tips & Tricks
Achieving the Perfect Texture
To get the best texture, blend your strawberries until smooth but keep some small pieces. This adds a nice rustic feel. When mixing the coconut milk, whisk it well with the coconut cream. This helps create a rich and creamy base. If you want extra creaminess, don’t skip the coconut cream. Just be sure to adjust the sweetness to your taste.
Serving Suggestions for Popsicles
For a fun touch, serve your popsicles on a bright plate. You can add fresh strawberry slices or a sprinkle of shredded coconut on top. This makes them look even more appealing. Try pairing them with a cold drink like lemonade or iced tea for a summer treat. You can also cut them into smaller pieces for a fun snack at parties.
Common Mistakes to Avoid
One mistake is over-blending the strawberries. If you blend too much, you lose texture. Another mistake is filling the molds too full. Leave some space at the top to let the popsicles expand as they freeze. Finally, don’t rush the freezing time. Make sure to freeze them for at least six hours for the best results.
Pro Tips
- Choose Ripe Strawberries: Select strawberries that are fully ripe for the best flavor. Look for bright red berries with a fresh fragrance for optimal sweetness.
- Experiment with Sweeteners: Feel free to adjust the amount of honey or maple syrup based on your personal taste, or try using agave syrup or stevia as alternatives.
- Layering Techniques: For a beautiful marbled effect, pour small amounts of the strawberry and coconut mixtures alternately, then use a skewer to swirl them together slightly.
- Storage Tips: Store your popsicles in an airtight container in the freezer for up to a month. This helps maintain their flavor and texture for longer enjoyment.
Variations
Adding Other Fruit Combinations
You can mix in other fruits to make your popsicles even better. Try bananas, blueberries, or mango. Just blend them up with the strawberries. This adds a new flavor and color. Each fruit brings its own taste and benefits. For example, bananas make the popsicles creamier. Blueberries add a nice tartness. Mango gives a tropical twist. You can mix and match to find your favorite blend.
Dairy-Free and Vegan Options
If you want a dairy-free or vegan treat, coconut milk is your best friend. It works perfectly in these popsicles. Instead of honey, use maple syrup or agave nectar for sweetness. These options keep the popsicles plant-based and delicious. You won’t lose any flavor, and they stay creamy. Your vegan friends will love them too!
Chocolate Swirl Popsicle Variation
For a fun twist, add some chocolate! Melt dark or dairy-free chocolate. After pouring in the coconut mixture, drizzle the melted chocolate on top. Use a skewer to swirl it into the popsicle. This gives you a rich and sweet treat. The chocolate pairs well with the coconut and strawberries. It’s a great way to make these popsicles extra special.
Storage Info
Best Practices for Freezing Popsicles
To keep your strawberry coconut popsicles fresh, follow a few steps. First, ensure that the popsicles are completely frozen. This usually takes at least six hours. Once solid, remove them from the molds carefully. Wrap each popsicle in plastic wrap. This helps to seal in freshness. Place wrapped popsicles in a freezer bag. Label the bag with the date for easy tracking.
How Long Can You Store Them?
You can store these popsicles for up to three months in the freezer. After that, they may start to lose flavor and texture. For the best taste, aim to enjoy them within a month. This way, you will experience their full berry and coconut flavor.
Tips for Preventing Freezer Burn
Freezer burn can ruin the taste of your popsicles. To avoid this, make sure to wrap them tightly. Remove as much air as possible from the freezer bag. You can also use an airtight container if you prefer. Avoid placing the popsicles near the freezer door. This spot can be warmer and cause ice crystals to form. By following these tips, you will keep your strawberry coconut popsicles tasting great!
FAQs
Can I Use Frozen Strawberries?
Yes, you can use frozen strawberries. They work well for popsicles. Just let them thaw slightly before blending. This helps to make a smoother mixture. You may need to adjust the sweetness since frozen berries can taste less sweet.
How to Make Popsicles Without Molds?
You can use small cups or ice cube trays. Fill them with the strawberry and coconut mixtures. Insert a wooden stick or a spoon into each cup. Freeze them for about six hours. Once frozen, run warm water over the outside to release them.
What If I Don't Have Coconut Cream?
If you don’t have coconut cream, you can skip it. Just use more coconut milk instead. Your popsicles will still taste great and creamy. You can also add a bit more sweetener to enhance the flavor.
In this blog post, I explored how to make delicious strawberry coconut popsicles. We discussed fresh ingredients, sweeteners, and ways to enhance creaminess. Then, I provided step-by-step instructions for preparing, whisking, and assembling. You learned tips for perfect texture, fun serving ideas, and common mistakes to avoid. We looked at variations with other fruits and dairy-free options. I also shared storage tips to keep your popsicles fresh. Now, it’s time to enjoy your tasty creations this summer!