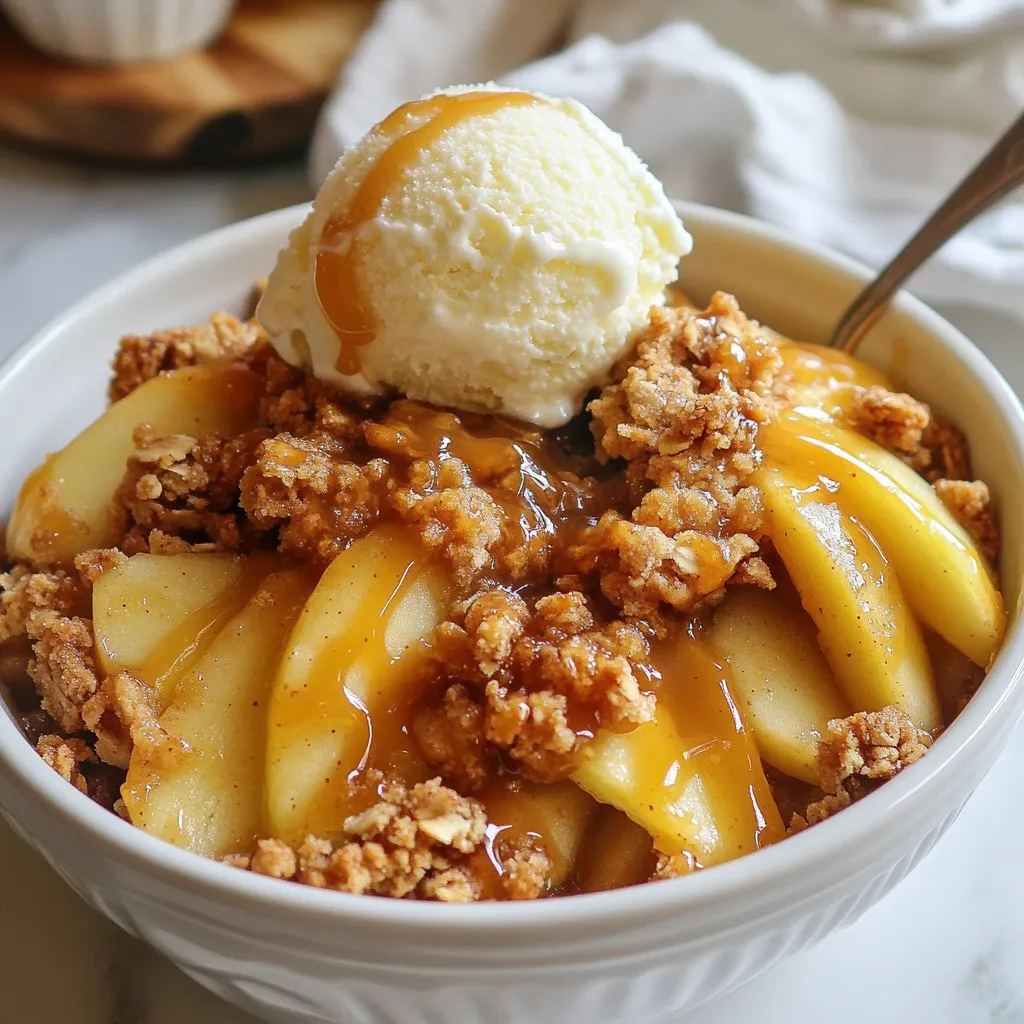
Welcome to the world of indulgent desserts! Today, I’m excited to share my Salted Caramel Apple Crumble recipe, a treat that combines sweet, tart apples with rich, gooey caramel. This delight offers a crunchy topping you won’t forget. Whether you’re a baking pro or a kitchen newbie, I’ll guide you step-by-step through each part. Get ready to impress your friends and family with this easy yet delicious recipe!
Why I Love This Recipe
- Delicious Flavor Combination: The mix of sweet apples, warm spices, and rich salted caramel creates a heavenly flavor profile that is hard to resist.
- Comforting Dessert: This apple crumble is the epitome of comfort food, perfect for cozy evenings with family or friends.
- Easy to Make: With straightforward steps and simple ingredients, this recipe is perfect for bakers of all skill levels.
- Customizable Toppings: You can easily add your favorite toppings, like nuts or additional spices, to make it uniquely yours.
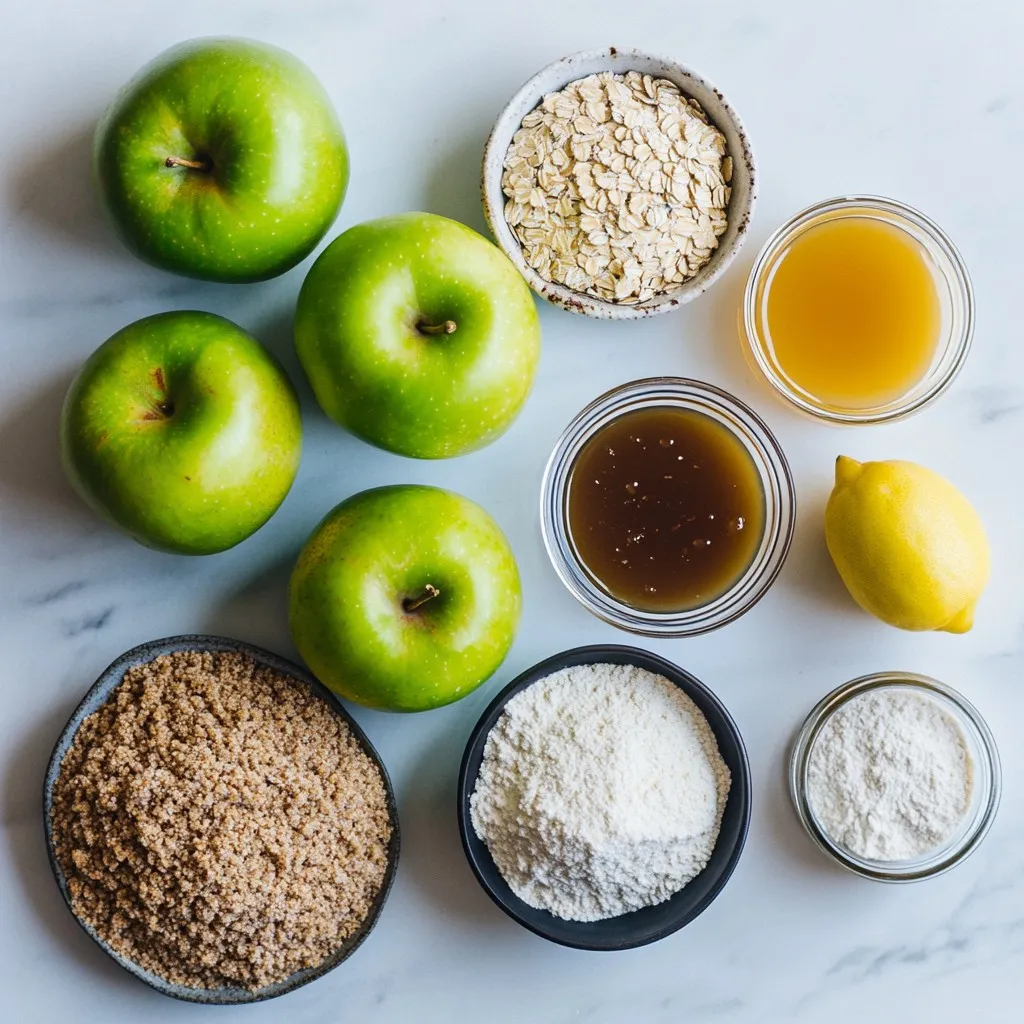
Ingredients
List of Ingredients
– Apples: Use 4 medium-sized apples. Granny Smith or Honeycrisp work well. Peel, core, and slice them into thin wedges.
– Sugars: You need two types:
– 1 cup packed brown sugar
– 1/2 cup granulated sugar
– Other key ingredients:
– 1 tablespoon fresh lemon juice
– 1 teaspoon ground cinnamon
– 1/4 teaspoon ground nutmeg
– 1 tablespoon cornstarch
– 1 cup rolled oats
– 1 cup all-purpose flour
– 1/2 cup unsalted butter, melted and slightly cooled
– 1/2 teaspoon flaky sea salt
– 1 cup salted caramel sauce (you can use store-bought or homemade)
Each ingredient plays a vital role in the flavor and texture of the crumble. The apples provide sweetness and tartness, while sugars add depth. Lemon juice helps keep the apples fresh. Spices like cinnamon and nutmeg give warmth. Cornstarch thickens the filling, and oats combined with flour create a delightful crumble topping. The butter adds richness, and sea salt enhances all flavors. Salted caramel sauce brings it all together with its sweet and salty notes.
Feel free to get creative with the apples! Different varieties can change the taste and make it even more fun.
Step-by-Step Instructions
Preheating the Oven and Preparing the Dish
Start by preheating your oven to 350°F (175°C). This temperature helps the apples cook evenly. Greasing the baking dish is key. It stops the crumble from sticking and makes serving easy. Use a little butter or cooking spray for this task.
Preparing the Apple Mixture
Grab a big mixing bowl. Toss the sliced apples with both sugars, lemon juice, cinnamon, nutmeg, and cornstarch. Mix well until every apple slice is coated. This step is vital. Allowing the flavors to meld makes the filling taste better. Set this mixture aside to let the magic happen.
Creating the Crumble Topping
In another bowl, mix rolled oats, flour, melted butter, and sea salt. Stir until you reach a crumbly texture. You want small clumps that hold together when pressed. This will give you that perfect crunch on top. If you want extra flavor, a pinch of cinnamon can work wonders here.
Assembling and Baking
Pour the apple mixture into your greased baking dish. Spread it out evenly. Drizzle half of the salted caramel sauce over the apples. This adds sweetness and richness. Next, sprinkle the crumble topping all over the apples, covering them completely.
Bake in the preheated oven for about 35-40 minutes. Look for tender apples and a golden-brown crumble. This is where the smell fills your kitchen and makes you excited to dig in!
Tips & Tricks
Perfecting the Crumble Texture
To get the best crumble, mix the oats, flour, and melted butter well. You want small clumps that stick together. This gives your topping a nice crunch. If you want more flavor, add nuts or spices like ginger. These will elevate your crumble and make it unique.
Serving Suggestions
Serve this dessert warm. Pair it with creamy vanilla ice cream or fluffy whipped cream. The cold cream contrasts nicely with the warm crumble. For a great look, use clear dessert cups. Layer the apple crumble and cream so guests can see the delicious layers.
Recommended Cooking Tools
You need a few key tools for this recipe. A sharp knife helps slice the apples easily. A large mixing bowl is great for tossing the apple mixture. Use a sturdy spatula to mix the crumble. For baking, a 9×13-inch dish works best. It fits all the yummy layers perfectly!
Pro Tips
- Choose the Right Apples: For the best flavor, opt for a mix of tart and sweet apples, like Granny Smith for tanginess and Honeycrisp for sweetness.
- Don’t Overmix the Crumble: When combining the crumble ingredients, mix until just combined to keep the topping light and crumbly.
- Let It Rest: Allowing the apple crumble to cool for a few minutes before serving helps the juices thicken, making it easier to scoop.
- Serve with Ice Cream: A scoop of vanilla ice cream adds a delicious creaminess that pairs perfectly with the warm crumble and salted caramel.
Variations
Different Apple Varieties
You can switch up the apples for fun flavors. Try using Fuji apples for sweetness or Braeburn for a tangy bite. Each type brings its own taste to the dish. Also, think about seasonal fruits. Pears or even peaches can be great in a crumble. They add a unique twist and keep things fresh.
Homemade vs. Store-Bought Caramel
When it comes to caramel, both choices have their perks. Store-bought is quick and easy. You can find many great brands that taste amazing. However, homemade caramel allows you to control the flavor and sweetness.
Here’s a simple homemade salted caramel recipe:
– Ingredients:
– 1 cup granulated sugar
– 6 tablespoons unsalted butter, cut into pieces
– 1/2 cup heavy cream
– 1 teaspoon flaky sea salt
Instructions:
1. Melt the sugar in a pan over medium heat. Stir until it turns golden brown.
2. Add the butter and stir until melted.
3. Slowly pour in the cream while stirring. Be careful, as it will bubble.
4. Remove from heat, add salt, and stir. Let cool before using.
Dietary Adjustments
You can make this recipe fit different diets. For a gluten-free option, swap all-purpose flour for almond flour or gluten-free flour. These work well in the crumble and won’t change the taste much.
If you want a vegan version, use coconut oil instead of butter and maple syrup for the caramel. Apples still provide that sweet flavor. With these changes, everyone can enjoy this dessert!
Storage Info
Storing Leftovers
To keep your salted caramel apple crumble fresh, store it in an airtight container. Place it in the fridge within two hours of baking. This keeps out moisture and helps the flavors stay strong. You can enjoy the crumble for up to three days. If you want to keep it longer, consider freezing it. Wrap it tightly in plastic wrap and then in aluminum foil. This way, it can last for up to three months.
Reheating Instructions
When it’s time to enjoy leftovers, reheat the crumble in the oven for the best results. Preheat your oven to 350°F (175°C). Place the crumble in a baking dish and cover it with foil. Heat for about 15-20 minutes, or until warm. This method helps maintain the crispiness of the topping. If you want it extra crispy, remove the foil for the last five minutes of reheating. Enjoy your warm, gooey dessert just like the first day!
FAQs
What types of apples are best for crumbles?
The best apples for crumbles are tart and sweet. I love using Granny Smith apples. They add a nice tartness that balances the sweet caramel. Honeycrisp apples are also great. They are sweet and firm, holding up well during baking. Mixing both types can create a delicious flavor combo.
Can I prepare the salted caramel sauce in advance?
Yes, you can make the salted caramel sauce ahead of time. Store it in an airtight container in the fridge. It will stay fresh for about a week. When you’re ready to use it, just reheat it gently. You can warm it in the microwave or on the stove. Stir it until smooth before drizzling it over your crumble.
How do I know if the crumble is done baking?
To check if your crumble is ready, look for a golden-brown top. The apples should be soft but not mushy. You can poke them with a fork. If they yield easily, they are done. The crumble should be crisp and fragrant, filling your kitchen with a warm, sweet smell.
Now you have all the tools to make a delicious apple crumble. You learned about key ingredients, prep steps, and tips for success. Remember to use your favorite apple varieties and adjust the recipe to fit your needs. Don’t forget to store leftovers properly so you can enjoy them later. Whether you keep it simple or try variations, your apple crumble will shine. Happy bakin