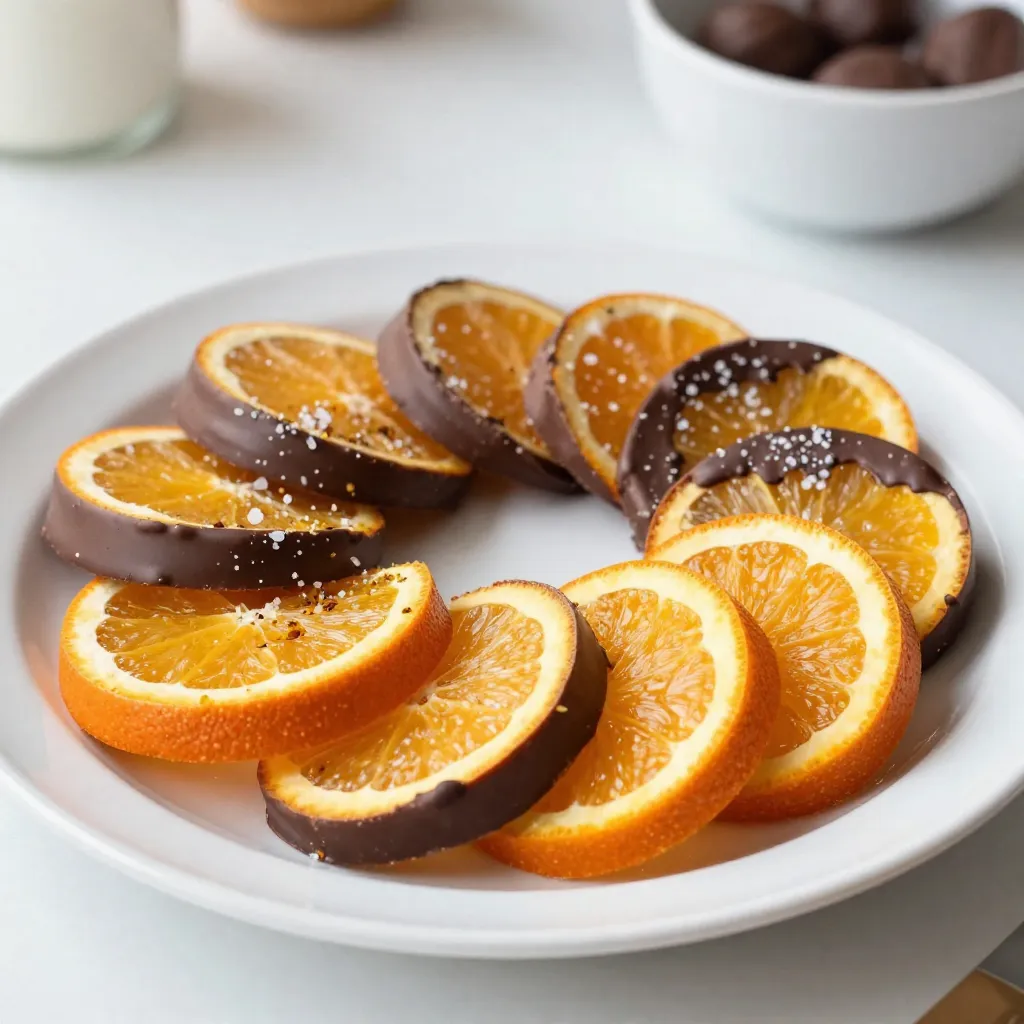
Looking for a sweet treat that’s as delicious as it is simple? You’re in the right place! Chocolate dipped orange slices blend tangy citrus with rich chocolate for a perfect dessert. In this article, I’ll guide you through easy steps to create these delightful bites. Plus, I’ll share tips, tricks, and fun variations to make your treats truly shine. Let’s dive into this tasty adventure together!
Why I Love This Recipe
- Fresh and Zesty Flavor: The combination of sweet oranges and rich dark chocolate creates a delightful contrast that is refreshing and indulgent at the same time.
- Easy to Make: With just a few simple steps and minimal preparation, you can whip up this treat in no time, making it perfect for last-minute gatherings.
- Healthier Dessert Option: Using dark chocolate and fresh fruit makes this a more nutritious dessert choice, providing antioxidants and vitamins while satisfying your sweet tooth.
- Impressive Presentation: These chocolate-dipped orange slices look stunning on a platter, making them an ideal dessert for entertaining guests.
Ingredients
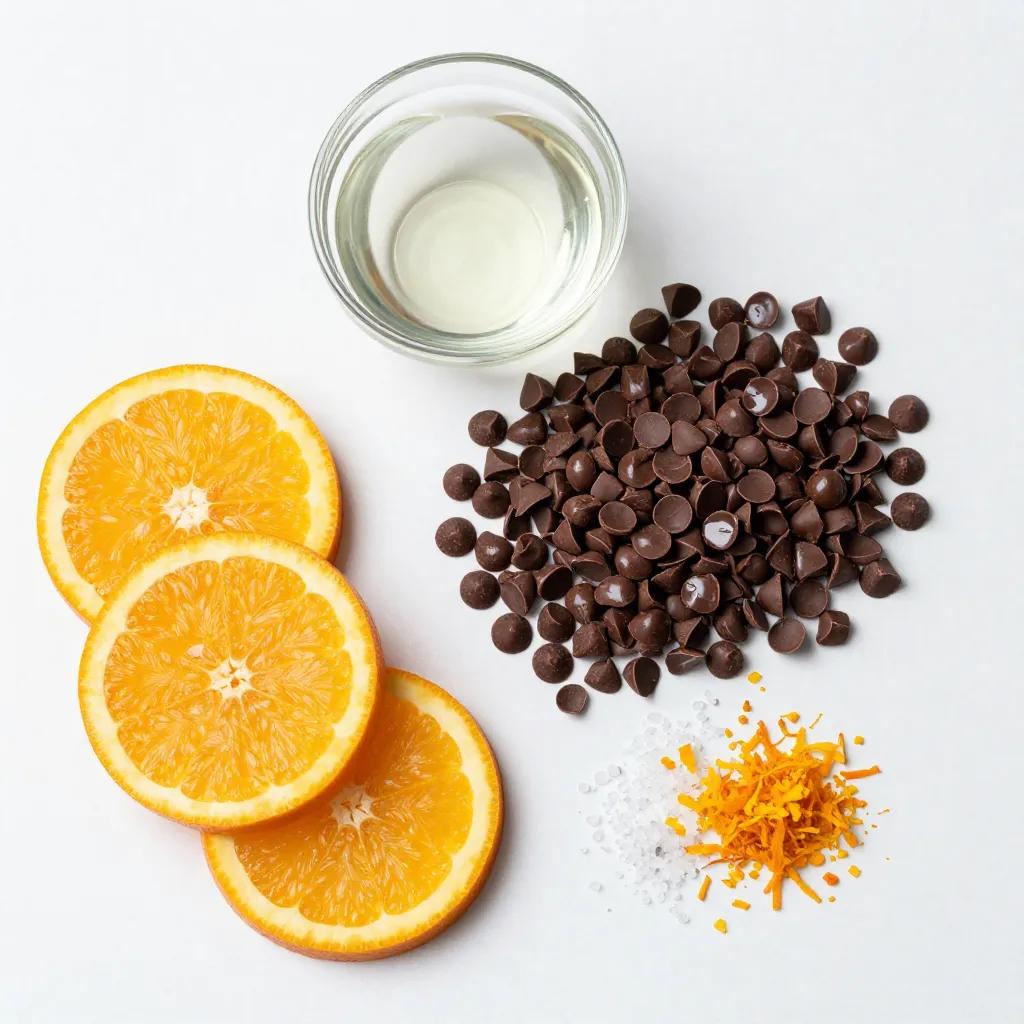
List of Main Ingredients
– 2 large oranges
– 1 cup dark chocolate chips
– 1 tablespoon coconut oil
– Sea salt
– Optional: Fresh orange zest
When making chocolate-dipped orange slices, fresh oranges are key. Choose large, firm ones. Next, dark chocolate chips give a rich taste. I recommend using chips with at least 70% cocoa. They melt well and taste great. Adding coconut oil helps the chocolate become smooth and silky. A touch of sea salt enhances the flavor. You can also add fresh orange zest for an extra burst of flavor. This zest brightens the whole treat and makes it even better. Enjoy preparing this simple yet delightful recipe!
Step-by-Step Instructions
Preparing the Oranges
Start by washing the two large oranges under running water. This step is key to removing dirt and wax. Next, slice the oranges into rounds about 1/4 inch thick. Each slice should be even to ensure a nice dip. After slicing, take a paper towel and gently pat them dry. This helps the chocolate stick better to the slices.
Melting the Chocolate
For melting the chocolate, use a microwave-safe bowl. Add 1 cup of dark chocolate chips and 1 tablespoon of coconut oil. This oil helps the chocolate melt smoothly. Heat the bowl in the microwave in 30-second intervals. After each interval, take it out and stir. Stirring is important to avoid burning and to get a silky texture.
Dipping the Orange Slices
Line a baking sheet with parchment paper. This prevents the chocolate from sticking. Take an orange slice and dip half of it into the melted chocolate. Make sure to let any excess chocolate drip back into the bowl. This keeps the chocolate layer just right.
Setting the Chocolate
Place each dipped slice on the parchment paper. While the chocolate is still wet, sprinkle a tiny pinch of sea salt over each piece. This adds a nice burst of flavor. For extra zest, add a sprinkle of fresh orange zest on top. Once done, put the baking sheet in the refrigerator. Let the slices chill for 30 to 45 minutes. This allows the chocolate to set and become firm.
Tips & Tricks
Selecting the Best Oranges
To make the best chocolate-dipped orange slices, you need fresh oranges. Look for oranges that feel heavy for their size. They should have a firm skin and no soft spots. Bright, shiny skin usually means they are fresh.
Oranges are in season during winter and early spring. Navel oranges are great for this recipe. They are sweet and easy to peel. Valencia oranges are also good, especially for their juice. Choose your favorite type based on taste and texture.
Melting Chocolate Perfectly
Melting chocolate can be tricky. You want it smooth, not burnt. Use a microwave-safe bowl and add chocolate chips with coconut oil. The coconut oil helps make the chocolate silky. Heat it in the microwave for 30 seconds at a time.
Stir the chocolate after each heating. This keeps it from getting too hot. If you see some unmelted chips, keep stirring. They will melt with the heat of the melted chocolate.
Presentation Suggestions
Presentation makes your treat more appealing. Arrange the chocolate-dipped orange slices on a nice platter. You can layer them for a beautiful look.
For extra flair, sprinkle fresh orange zest on top. Adding some mint leaves gives a pop of green. These small touches make your dessert stand out. Don’t forget to enjoy the beauty of your creation!
Pro Tips
- Use Room Temperature Oranges: For easier slicing and better chocolate adherence, let your oranges sit at room temperature for about 30 minutes before preparing them.
- Experiment with Chocolate Types: While dark chocolate is delicious, try using milk or white chocolate for a different flavor profile. You can even mix them for a marbled effect.
- Customize Your Toppings: Besides sea salt and orange zest, consider adding crushed nuts or a drizzle of caramel for added texture and flavor.
- Store Properly: To maintain the chocolate’s shine and prevent stickiness, store the dipped orange slices in a single layer, separated by parchment paper in an airtight container.
Variations
Dark Chocolate vs. Milk Chocolate
Dark chocolate has a rich, bold taste. It brings out the tangy zest of oranges. Many dessert lovers prefer dark chocolate for its deep flavor. Milk chocolate, on the other hand, is sweeter and creamier. This option may appeal to those with a sweet tooth. Both types of chocolate work well, so choose based on your taste.
White Chocolate Option
White chocolate gives a different twist. It lacks cocoa solids, making it sweeter and creamier. To use white chocolate, melt it the same way as dark chocolate. You should add a bit more orange zest to balance the sweetness. This will create a fun contrast with the chocolate’s creaminess.
Additional Flavor Enhancements
You can make these treats even better! Adding fresh citrus zest boosts the orange flavor. Just sprinkle a teaspoon of zest into the melted chocolate. You can also pair the slices with nuts or spices. Try chopped almonds for crunch or a dash of cinnamon for warmth. These small changes can add big flavor to your chocolate-dipped orange slices.
Storage Info
Proper Storage Techniques
To keep your chocolate dipped orange slices fresh, store them in an airtight container. Place parchment paper between layers to prevent sticking. This simple step helps maintain their texture and taste.
I recommend using glass containers. They do not absorb smells and keep your treats safe. Keep the container in the fridge to keep the chocolate firm.
Shelf Life
In the fridge, chocolate dipped orange slices last up to one week. Make sure to check for signs of spoilage. If they feel sticky or have an off smell, it is best to throw them away. Enjoy your treats while they are fresh!
FAQs
Can I use other fruits instead of oranges?
Yes, you can use other fruits! Here are some great options:
– Strawberries: Their sweetness pairs well with chocolate.
– Bananas: They add a creamy texture and taste.
– Pineapple: This fruit offers a tropical twist.
– Apples: Crisp apples provide a nice crunch.
Each fruit brings its own flavor, making every treat unique. Experiment and find your favorite!
How do I make these chocolate-dipped treats healthier?
You can make them healthier by choosing better chocolate. Look for:
– Dark chocolate with higher cocoa content, like 85%.
– Sugar-free chocolate chips for lower sugar.
Also, consider using sweeteners instead of sugar:
– Honey or maple syrup can add sweetness.
– Stevia is a good low-calorie option.
These swaps keep the treats tasty while reducing sugar intake!
What occasions are perfect for serving chocolate-dipped orange slices?
These treats fit many events! Consider serving them at:
– Birthday parties: They make a fun dessert.
– Holiday gatherings: Their bright colors are festive.
– Picnics: They are easy to pack and share.
They pair well with drinks like:
– Sparkling water: The bubbles balance the sweetness.
– Herbal tea: A warm drink complements the fruit.
You can also enjoy them as a light dessert after dinner!
In this blog post, we explored making chocolate-dipped orange slices. We covered choosing fresh oranges, melting chocolate, and dipping techniques. I shared tips for storage and different variations, like using milk or white chocolate.
These treats are fun and tasty for any occasion. With practice, you’ll create visually appealing and delicious snacks. Enjoy crafting these bites for your friends and famil