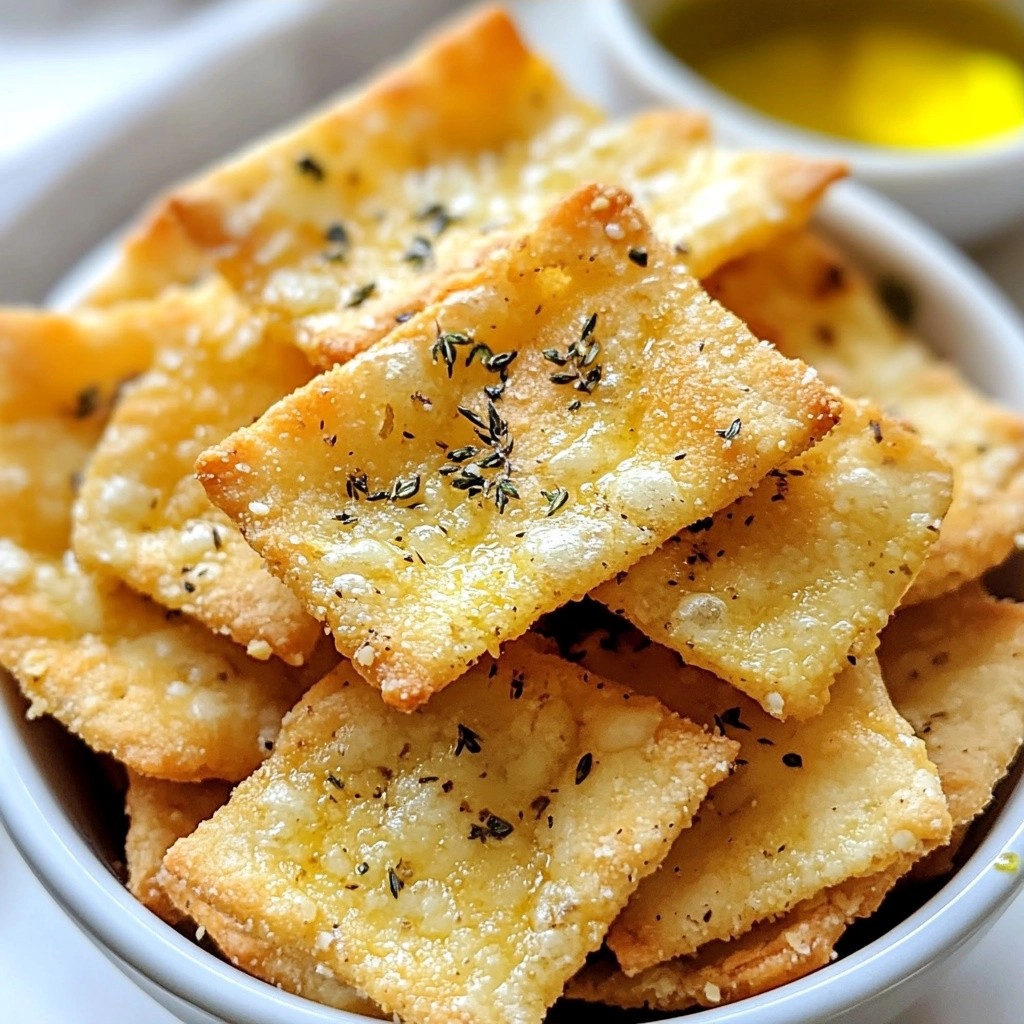
Looking for a crunchy snack that ticks all the boxes? I’ve got just the thing: Cheesy Carb-Free Parmesan Crisps! These easy-to-make treats are perfect for anyone wanting a savory bite without the carbs. With just a few simple ingredients and straightforward steps, you’ll have a delicious snack ready in no time. Join me as we crunch into this tasty world of cheesy goodness!
Why I Love This Recipe
- Deliciously Cheesy: These crisps are packed with rich Parmesan flavor, making them a perfect savory snack or appetizer.
- Low-Carb Delight: Perfect for those following a low-carb or keto diet, these crisps are a guilt-free indulgence.
- Quick and Easy: With just a few simple ingredients and minimal prep time, you can whip these up in under 20 minutes!
- Customizable Flavor: Feel free to adjust the spices or add your favorite herbs to create your own unique twist on these crispy treats.
Ingredients
Main Ingredients Needed
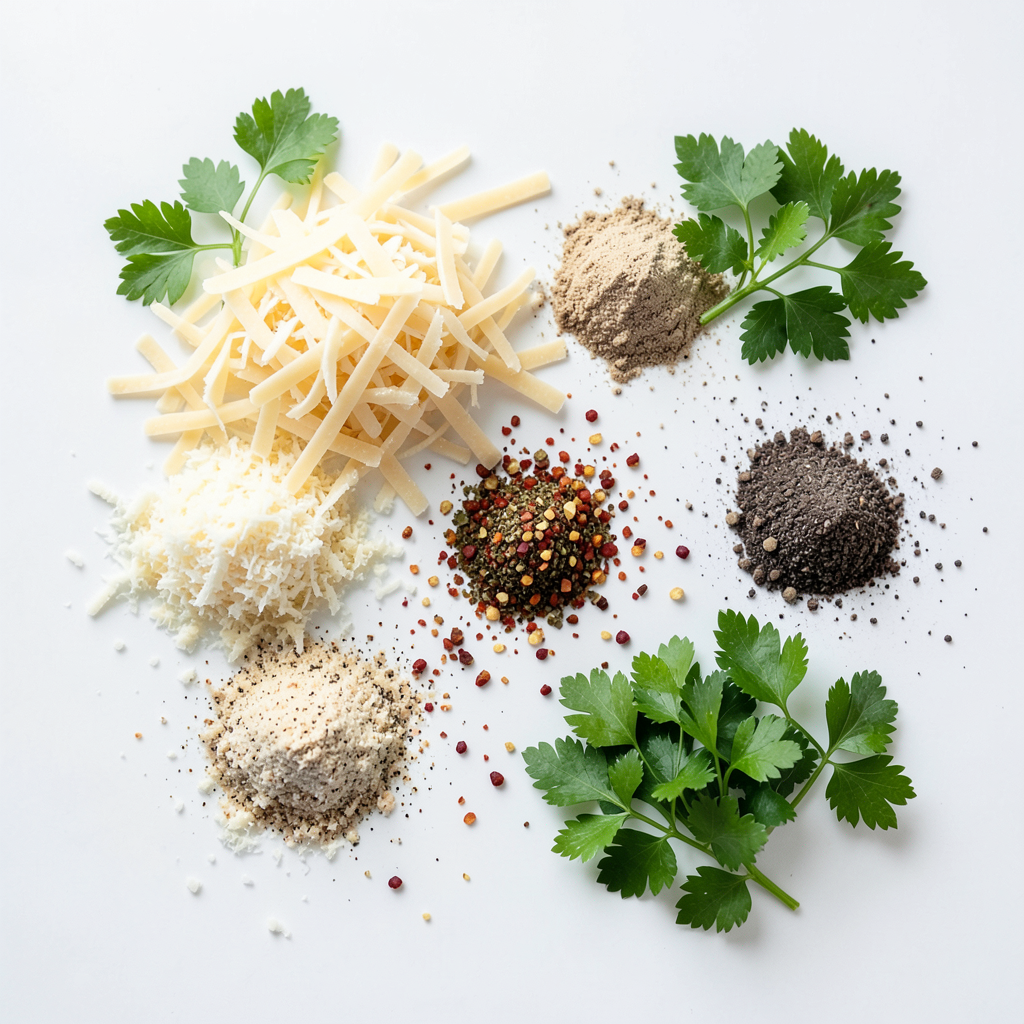
To make delicious cheesy Parmesan crisps, you need just a few key items. Here’s what you'll need:
- 1 cup finely grated Parmesan cheese
- 1 teaspoon garlic powder
- 1 teaspoon Italian seasoning
- 1/4 teaspoon red pepper flakes (optional)
- Freshly ground black pepper, to taste
These ingredients combine to create a crunchy, cheesy treat that is perfect for snacking.
Optional Ingredients for Flavor
If you want to add more flavor, consider these options:
- 1 tablespoon freshly chopped parsley (for garnish)
- Other herbs like oregano or thyme
- A pinch of smoked paprika for a unique twist
These extras can enhance the taste and look of your crisps.
Substitutions and Alternatives
If you don’t have Parmesan cheese, you can try these alternatives:
- Grated Pecorino Romano for a sharper taste
- Grated aged cheddar for a different cheese flavor
Feel free to experiment with what you have on hand. The key is to use a cheese that melts well. This allows you to enjoy a tasty snack that fits your preferences.
Step-by-Step Instructions
Prepping the Oven and Baking Sheet
First, I preheat the oven to 400°F (200°C). This step is key for making the crisps nice and crunchy. Next, I line a baking sheet with parchment paper. This helps the crisps cook evenly and makes them easy to lift off later.
Mixing the Cheese and Seasonings
In a medium bowl, I combine 1 cup of finely grated Parmesan cheese with 1 teaspoon of garlic powder and 1 teaspoon of Italian seasoning. For some heat, I add 1/4 teaspoon of red pepper flakes. I also sprinkle in freshly ground black pepper to taste. I mix everything well with a spoon until it's all combined. This mixture will give the crisps a rich flavor.
Forming and Baking the Crisps
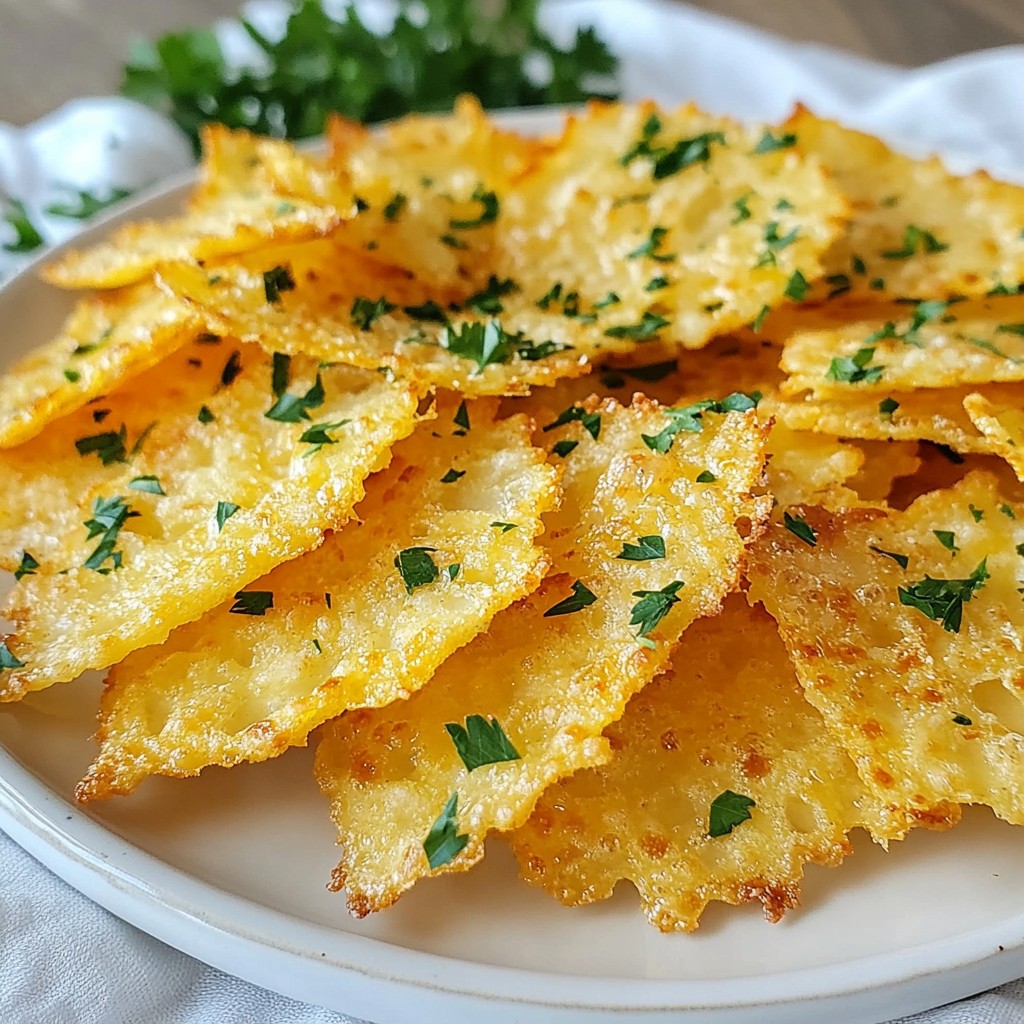
Using a tablespoon, I scoop out generous mounds of the cheesy mix. I place them on the baking sheet, leaving space in between. Then, I gently press down each mound to form thin circles, about 1/4 inch thick. I carefully place the baking sheet in the oven and bake for 5-7 minutes. I keep a close eye on them. I want the edges golden brown and the cheese bubbly, but not burnt. Once they look perfect, I take them out and let them cool on the parchment paper. They will harden as they cool. After a few minutes, I move the crisps to a serving plate and sprinkle chopped parsley on top for a pop of color.
Tips & Tricks
Achieving Perfectly Crispy Texture
To get that perfect crunch in your Parmesan crisps, follow these steps:
- Preheat your oven to 400°F (200°C). This heat is key for crisping.
- Use finely grated Parmesan cheese. The finer the cheese, the better it melts.
- Space the mounds on the baking sheet. This helps them spread and crisp evenly.
- Keep an eye on them as they bake. They can go from golden to burnt quickly.
- Let them cool completely on the parchment paper. This step makes them extra crispy.
Common Mistakes to Avoid
Here are some common mistakes that can ruin your crisps:
- Using shredded cheese instead of grated cheese. Shredded cheese won’t melt as well.
- Not leaving space between mounds. If they touch, they will stick together.
- Overbaking the crisps. Watch them closely; they can burn in a flash.
- Skipping the cooling time. Crisps need to cool to firm up and become crunchy.
Enhancing Flavor with Seasoning Variations
You can add fun flavors to your crisps. Here are some ideas:
- Stir in herbs like thyme or oregano for a fresh taste.
- Add smoked paprika or cayenne for a spicy kick.
- Try some nutritional yeast for a cheesy flavor without dairy.
- Experiment with different cheeses, like cheddar or gouda, for unique twists.
Mix and match these ideas to find your favorite flavor!
Pro Tips
- Use Fresh Parmesan: For the best flavor and texture, opt for freshly grated Parmesan cheese instead of pre-packaged. Fresh cheese melts better and offers a richer taste.
- Adjust the Seasoning: Feel free to customize the seasonings to your taste. Add more garlic powder or experiment with different herbs to make the crisps uniquely yours.
- Watch Closely While Baking: Keep an eye on the crisps as they bake. Since ovens can vary, they can go from perfect to overdone quickly. Look for a golden-brown color.
- Storage Tips: Store any leftover crisps in an airtight container to maintain their crunch. They can last for several days, but are best enjoyed fresh.
Variations
Adding Different Herbs and Spices
You can make your cheesy crisps even better by adding herbs and spices. Try using dried basil or oregano for a fragrant touch. You can also use smoked paprika for a nice twist. A pinch of cayenne pepper can add some heat. Mix your chosen herbs right into the cheese before baking. This makes each bite burst with flavor.
Experimenting with Different Cheeses
Parmesan is great, but you can switch it up too. Pecorino Romano adds a salty kick. Grated cheddar gives a richer taste. You can even use a mix of cheeses for a fun flavor blend. Just keep the cheese finely grated for the best crispiness. Each cheese changes the flavor, so have fun with it.
Serving Suggestions (dips and pairings)
These crisps are perfect for dipping. A small bowl of marinara sauce works great. You can also serve them with a creamy ranch dip. They pair well with fresh veggies like carrots or celery. Cheese crisps can be a crunchy topping on salads too. Try stacking them with slices of smoked salmon for a fancy treat.
Storage Info
Best Practices for Storing Leftover Crisps
Store leftover cheesy carb-free Parmesan crisps in a sealed container. Use wax paper or parchment between layers to keep them crisp. Place the container in a cool, dry place, like a pantry. Avoid the fridge, as moisture can make them soggy. They stay fresh for up to a week.
How to Recrisp Cheesy Crisps
If your crisps lose their crunch, don’t worry! You can easily recrisp them. Preheat your oven to 350°F (175°C). Spread the crisps on a baking sheet lined with parchment paper. Bake for 3-5 minutes, watching closely. The heat will help restore their crunch. Let them cool before enjoying again.
Freezing Options for Meal Prep
For longer storage, you can freeze these crisps. First, let them cool completely. Place them in a single layer on a baking sheet. Freeze until solid, then transfer to a freezer-safe bag. Remove as much air as possible to avoid freezer burn. They can last up to three months in the freezer. When ready to eat, just bake them straight from frozen!
FAQs
Can I make these crisps in an air fryer?
Yes, you can make these crisps in an air fryer. Set your air fryer to 350°F (175°C). Line the basket with parchment paper. Scoop the cheese mixture onto the paper, leaving space between each mound. Cook for about 5-6 minutes. Check them often to avoid burning. When they are golden brown, they are ready.
How do I know when the crisps are done baking?
You know the crisps are done when the edges turn golden brown. The cheese should melt and bubble. Keep an eye on them while they bake. They can go from perfect to burnt quickly. Once they look nice and golden, take them out and let them cool.
Are these Parmesan crisps suitable for keto and low-carb diets?
Yes, these Parmesan crisps are perfect for keto and low-carb diets. They are made only from cheese and spices, with no carbs in sight. Enjoy them guilt-free as a crunchy snack or a side dish. They fit well into many healthy eating plans.
This post covered how to make delicious cheese crisps. We explored key ingredients and easy steps to prepare them. You learned tips for the perfect crisp texture and common mistakes to avoid. We also discussed storage techniques and options for customizing flavors and dips.
In summary, cheese crisps are simple, fun, and perfect for any meal. Now, you can make them your own. Enjoy your crunchy snack!